Onigiri: a recipe from Japan

If you grew up with Japanese Anime, you'll recognize Onigiri, the famous rice ball!! The concept is pretty simple: it’s a ball of rice firmly hold together (usually in a triangle shape), that you can find with a wide variety of fillings. Most common variations can be cooked salmon, tuna-mayo, umeboshi (the Japanese plums) or fish eggs.
Every time I go to Japan it's such a temptation. I love it because it's naturally gluten-free, you can always pick a different variety and you find them in every convenience store! If you like rice and Japanese flavors, you should try it homemade, it’s so good! It’s not difficult to prepare, just follow the basic recommendations.
Other Japanese recipes on this blog:
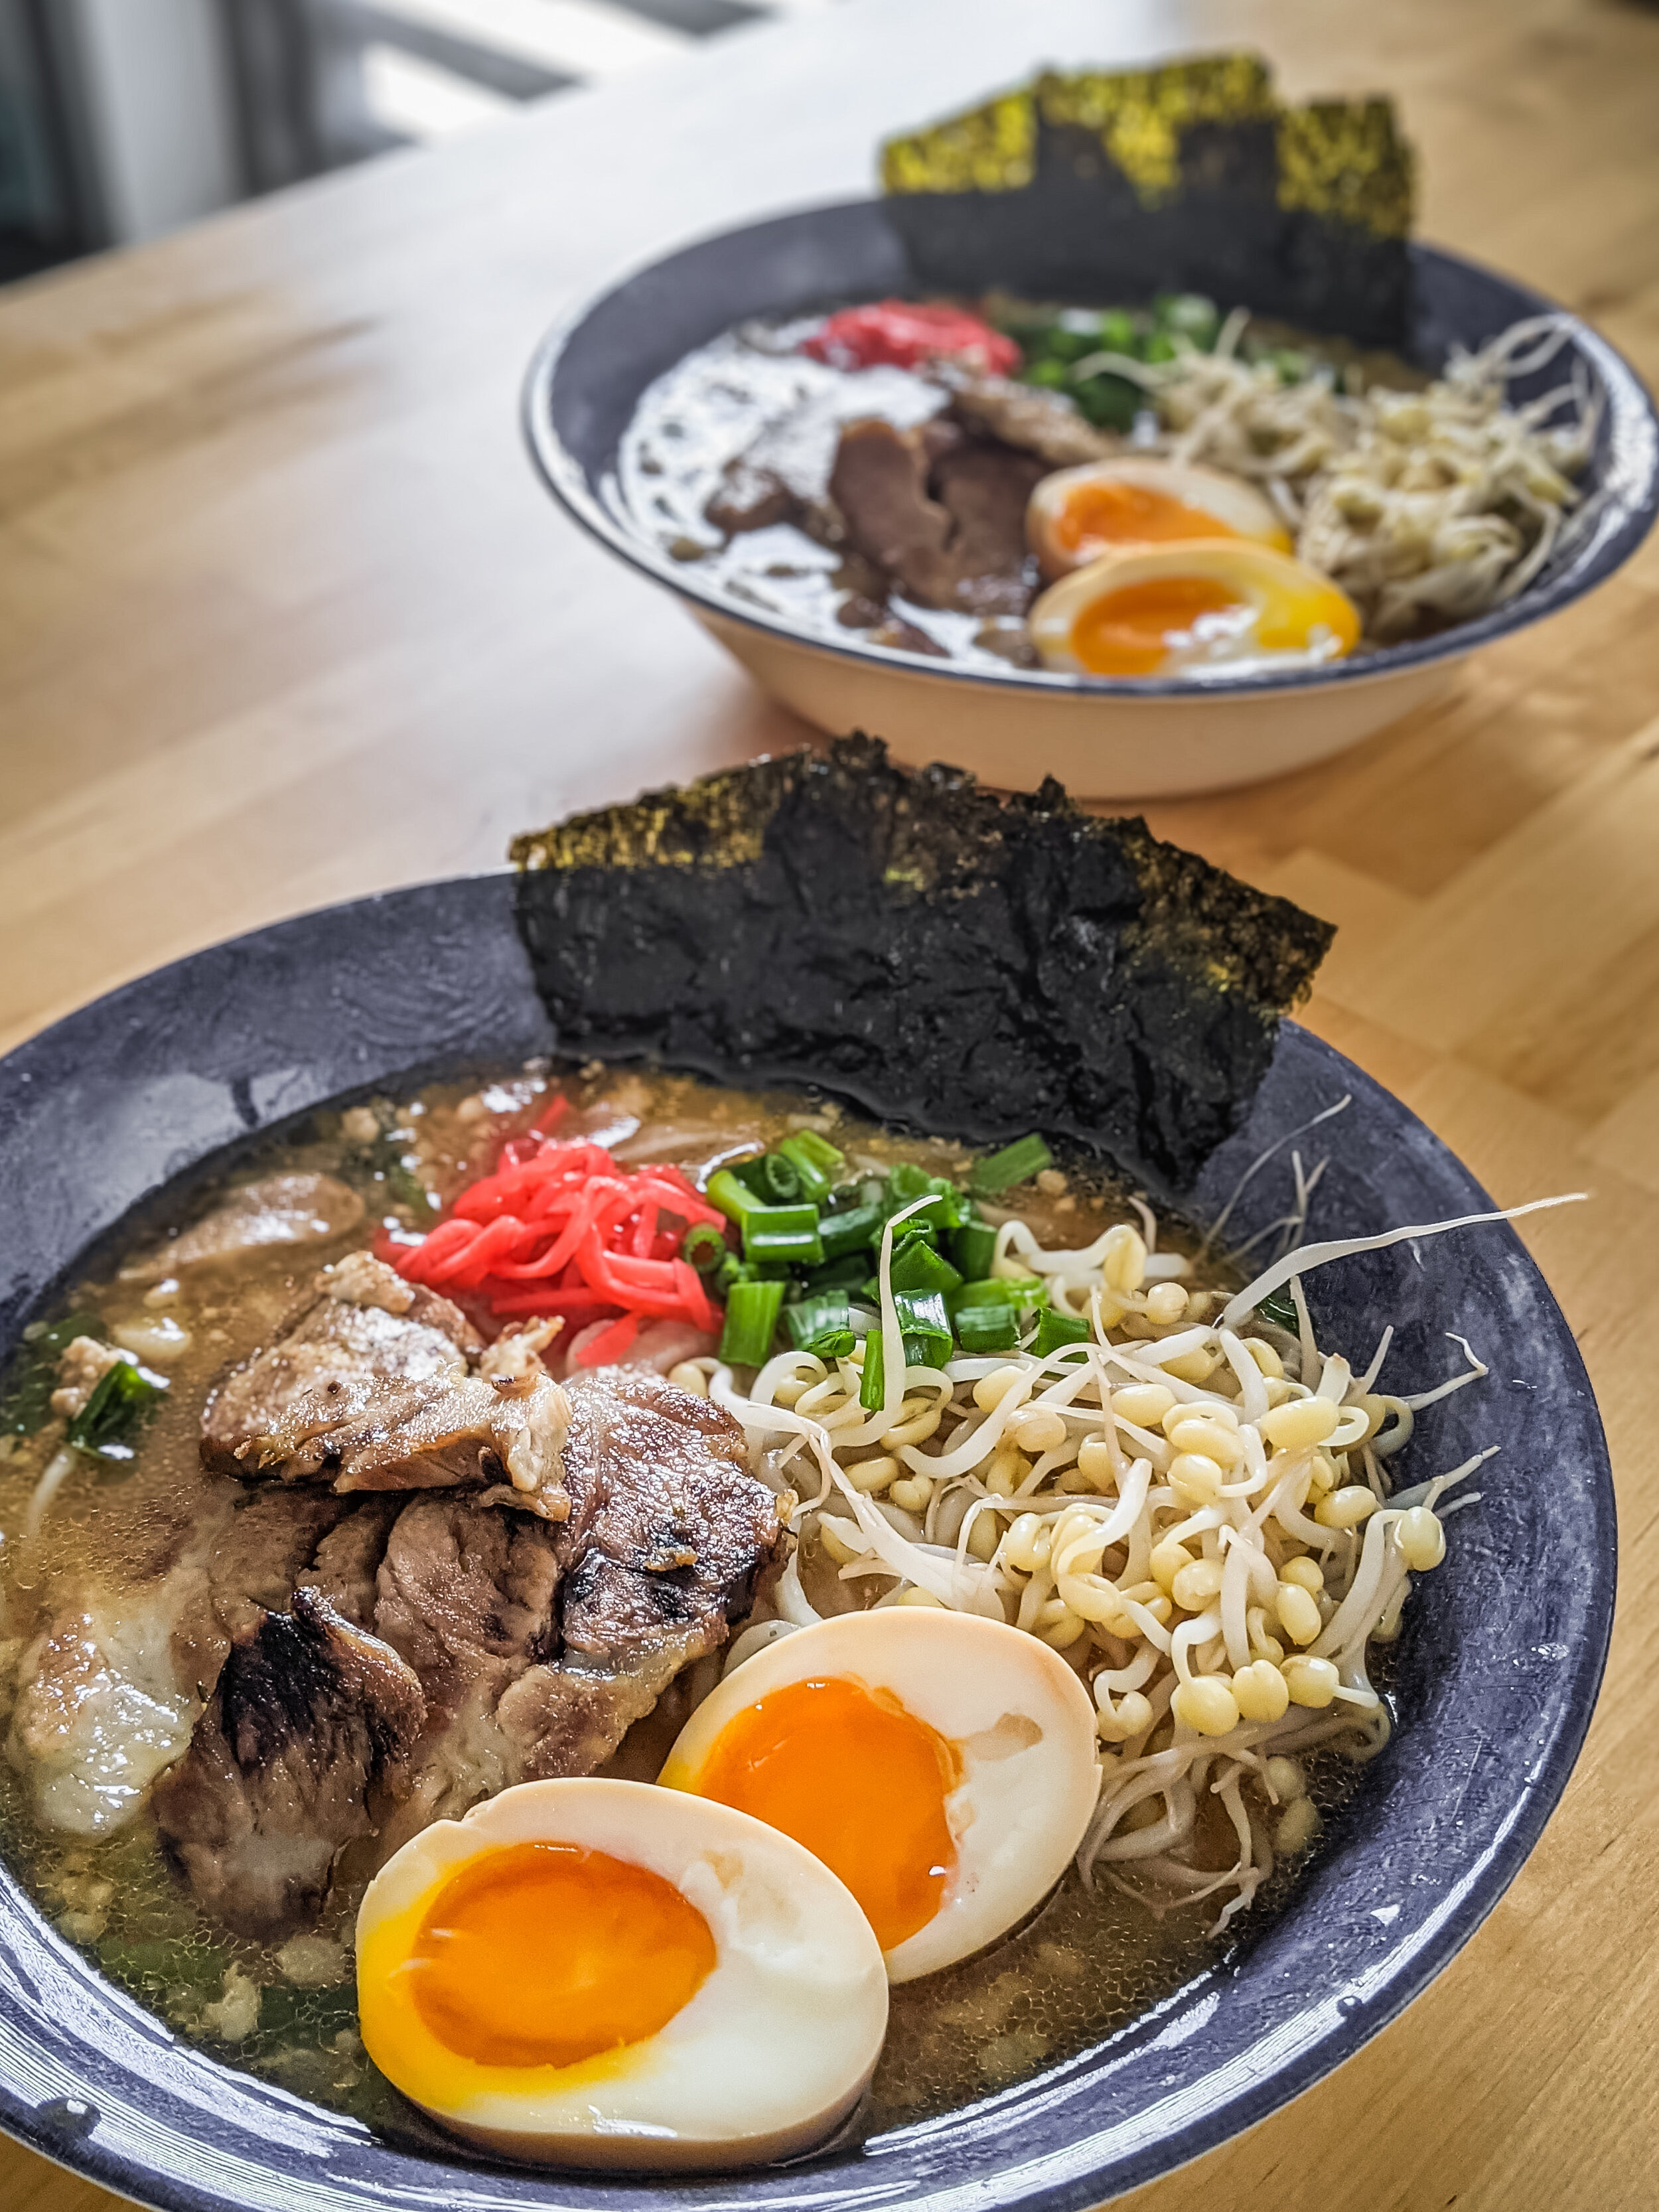
Ramen (a hot bowl of deliciousness, learn to make your gluten-free noodles too)
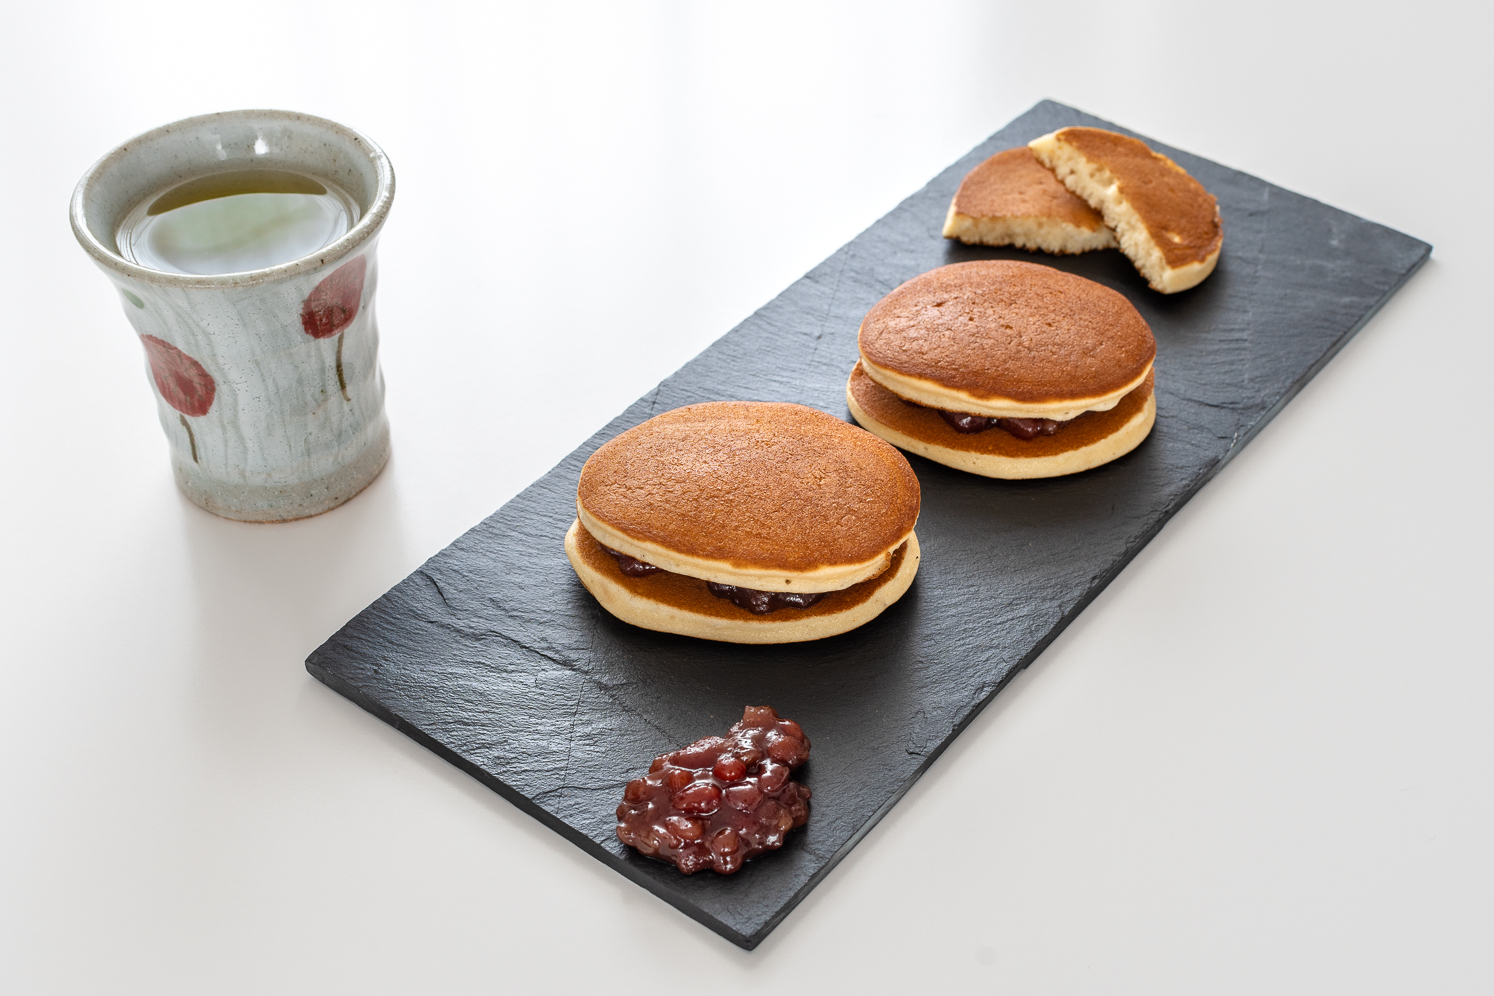
Dorayaki (the sweet delicious and fluffy pancake filled with sweet redbean paste, you might recognize it if you watched Doraemon)
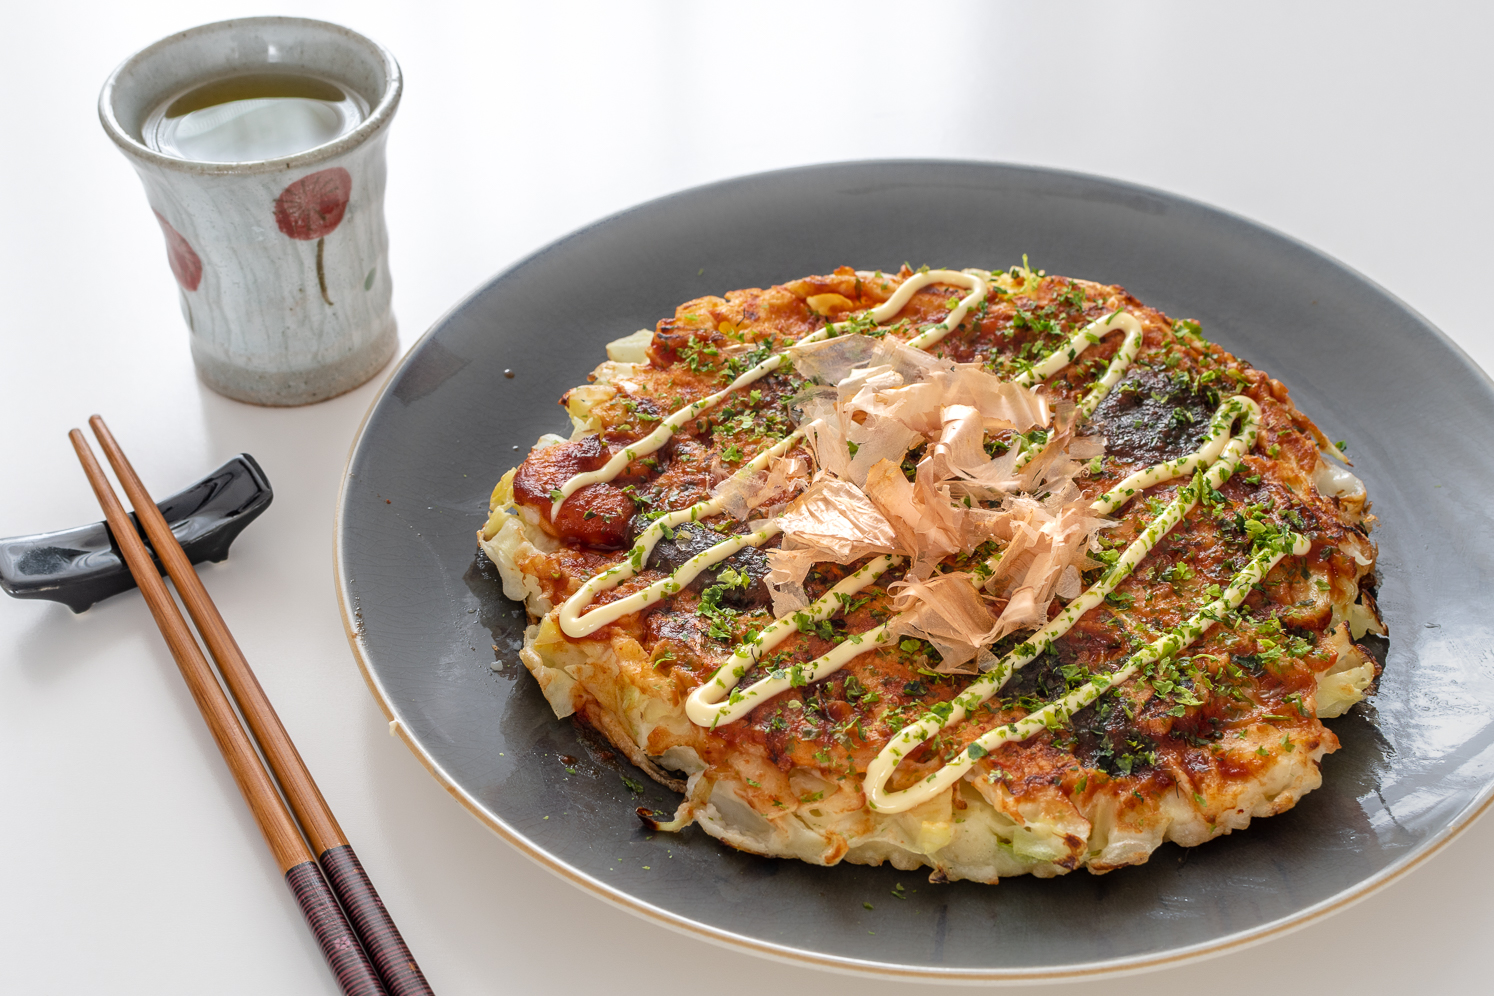
Okonomiyaki (the delicious cabbage pancake typical from Osaka)
Ingredients (7-8 onigiri)
250 gr Japanese rice
1-1/2 cup of cold water
2 sheets of nori seaweed (the one for sushi, cut into little strips)
150 gr salmon
Salt

First of all, prepare Japanese rice like a pro with these simple steps. For fail-safe Japanese rice, place the rice in a bowl and was at least 6-7 times with cold water, until the water is clear. Leave the rice to rest in the sieve for 30 minutes.
Place the rice in a saucepan and measure carefully the amount of water to use. You should follow the quantity recommended in the rice package, generally 110% of the volume of rice (after resting in the sieve), in this case 1 and 1/2 cup. Place the lid on and cook for 15 minutes over low heat from the time the water starts boiling. Never open the lid!
When the time is up, let the rice rest with the lid on for 15 more minutes. In the meantime cut or break the salmon into little bites and cook in a pan until it becomes crunchy on the outside. Take the freshly cooked rice and put it in a bowl or cutting board to cool down.
Now it’s time to mold the onigiri! Get ready with 2 essential elements: salt and water. The first is essential for two main reasons: antibacterial properties and acting as a glue to make the onigiri tight and firm. The other is used to prevent that the rice is sticking to the hands and also to make molding the rice easier. By the way, instead of using your hand, you can also use a plastic onigiri mold if you have it!
To prepare the onigiri with you hands first of all use some water to get them lightly wet. Sprinkle a pinch of salt on your palms and rub them together (it shouldn’t dissolve completely). Take a a portion of 40 gr cooked rice and place in one hand. Add a tsp of salmon filling in the middle, cover with 30 grams of rice and firmly hold the rice ball with both hands. Mold the rice into the desired shape.
Place a strip of nori seaweed on the bottom part of the onigiri, like in the picture. Repeat the steps to form other rice balls.

TIPS: Many recommend to dip your hands in salted water before making each onigiri, however I’ve followed another suggested technique with a more limited amount of water. Be careful, too much of it on your hands will make the rice too soft. Adjust the amount of salt to your preference and keep in mind that more salt will preserve the onigiri for a longer period of time.
Onigiri is ideally consumed shortly after it’s ready, or within 48 hours. Place in the fridge to preserve.